Appearance
Events Administrator
Events are the scheduled occasions during which stock orders are created and managed — a match day, concert, corporate function, or any other activity at your venue.
Accessing Events
Navigate to Event Management in the sidebar.
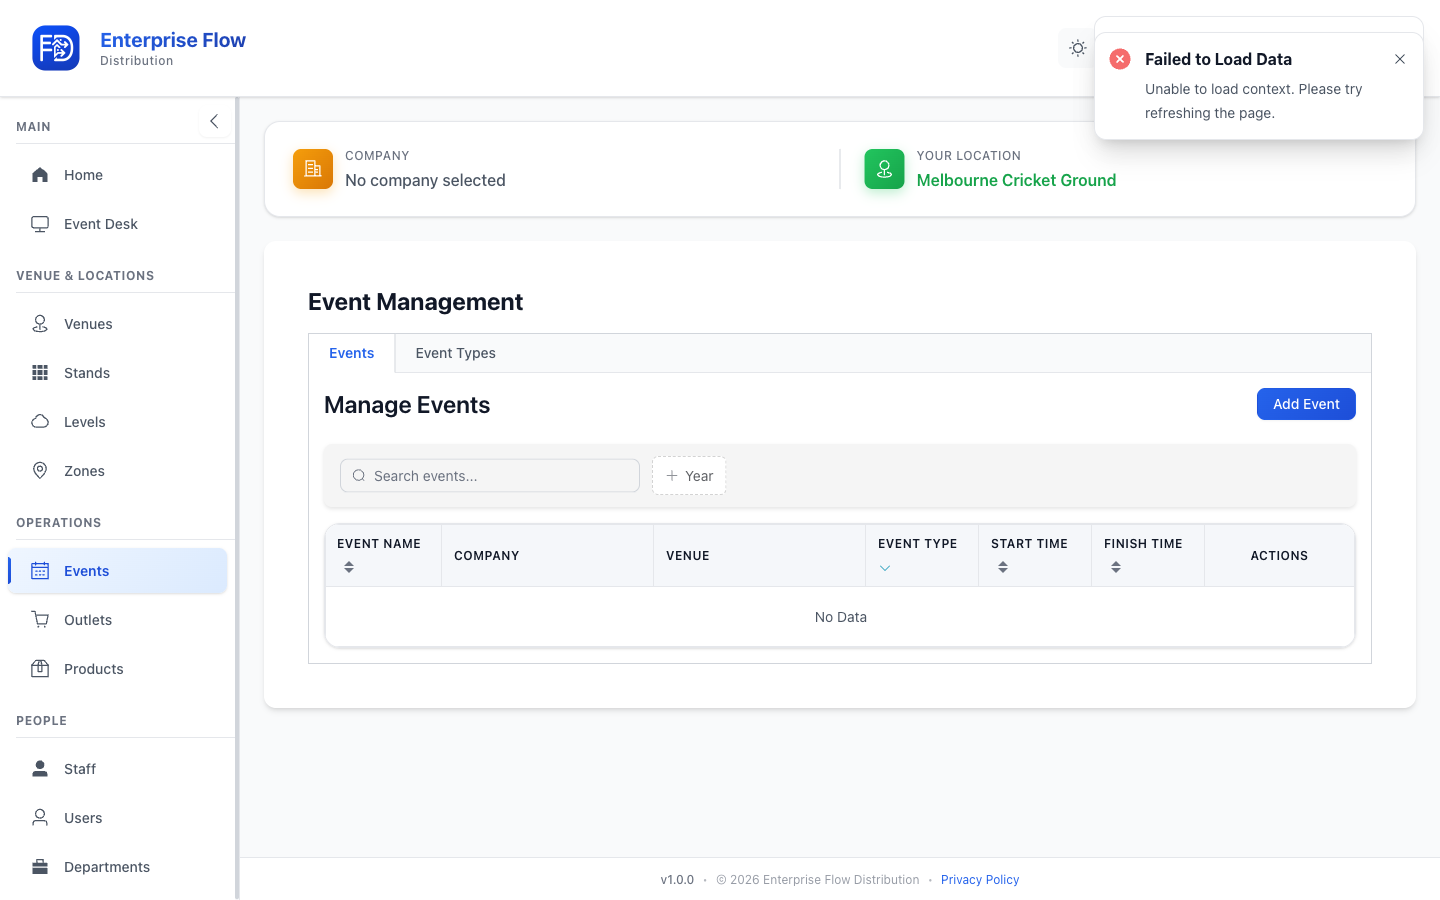
Each row in the events index shows how many outlets and staff are assigned to that event, so you can see an event's setup at a glance without opening it.
Creating an Event
- Click the Add Event button.
- Fill in the details:
- Name — The event's display name (e.g., "AFL Round 5 — Cats vs Pies")
- Event Type — Select from your defined event types
- Venue — Where the event takes place
- Date & Time — When the event starts and ends
- Click Save.
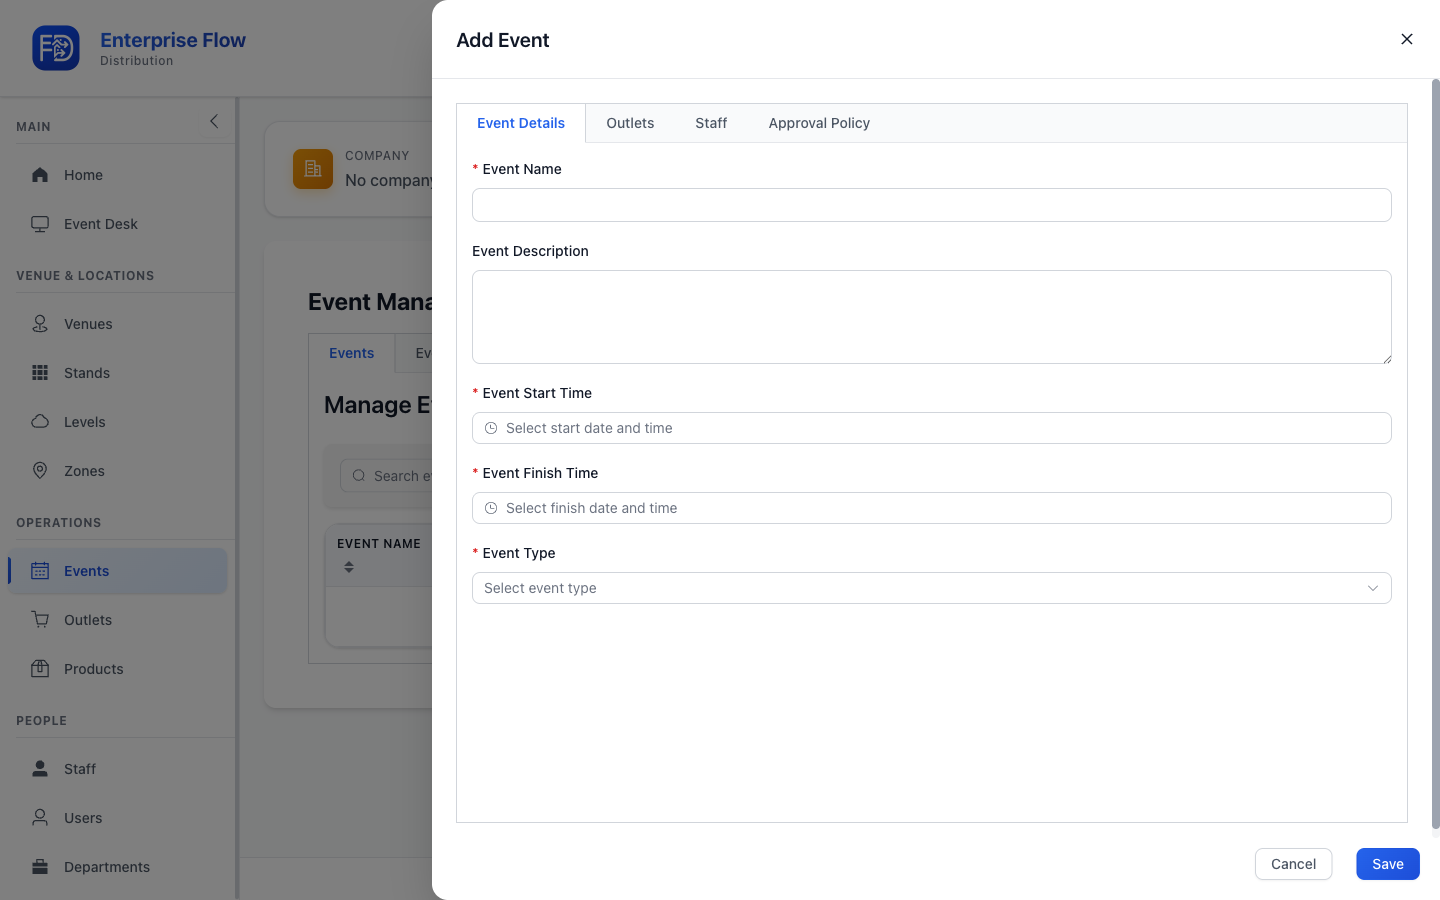
Event Form Tabs
When creating or editing an event, the form includes multiple tabs:
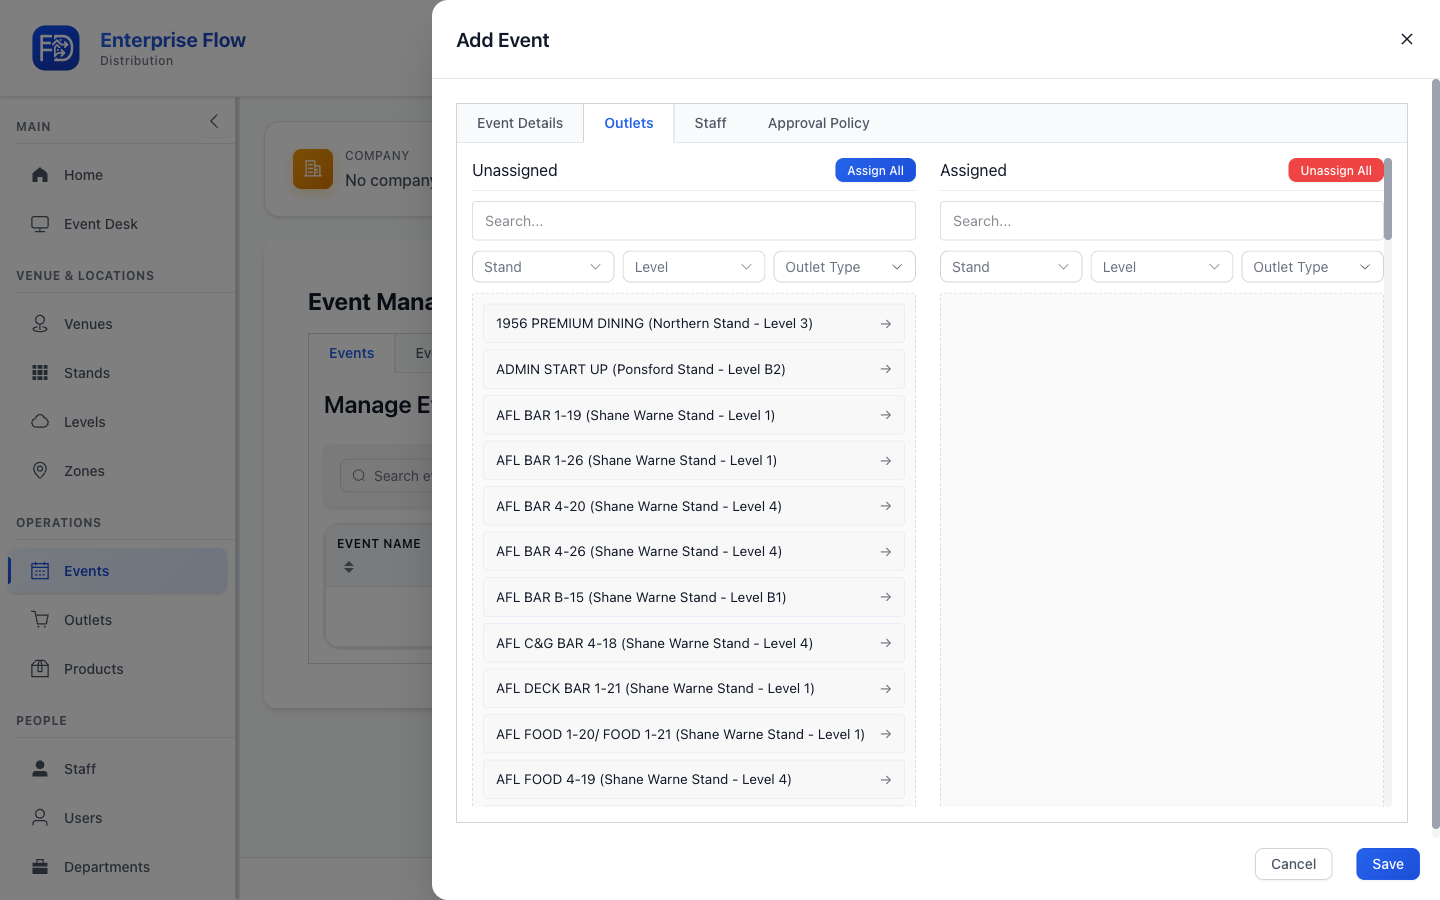
Outlets Tab
Assign which outlets are active for this event.
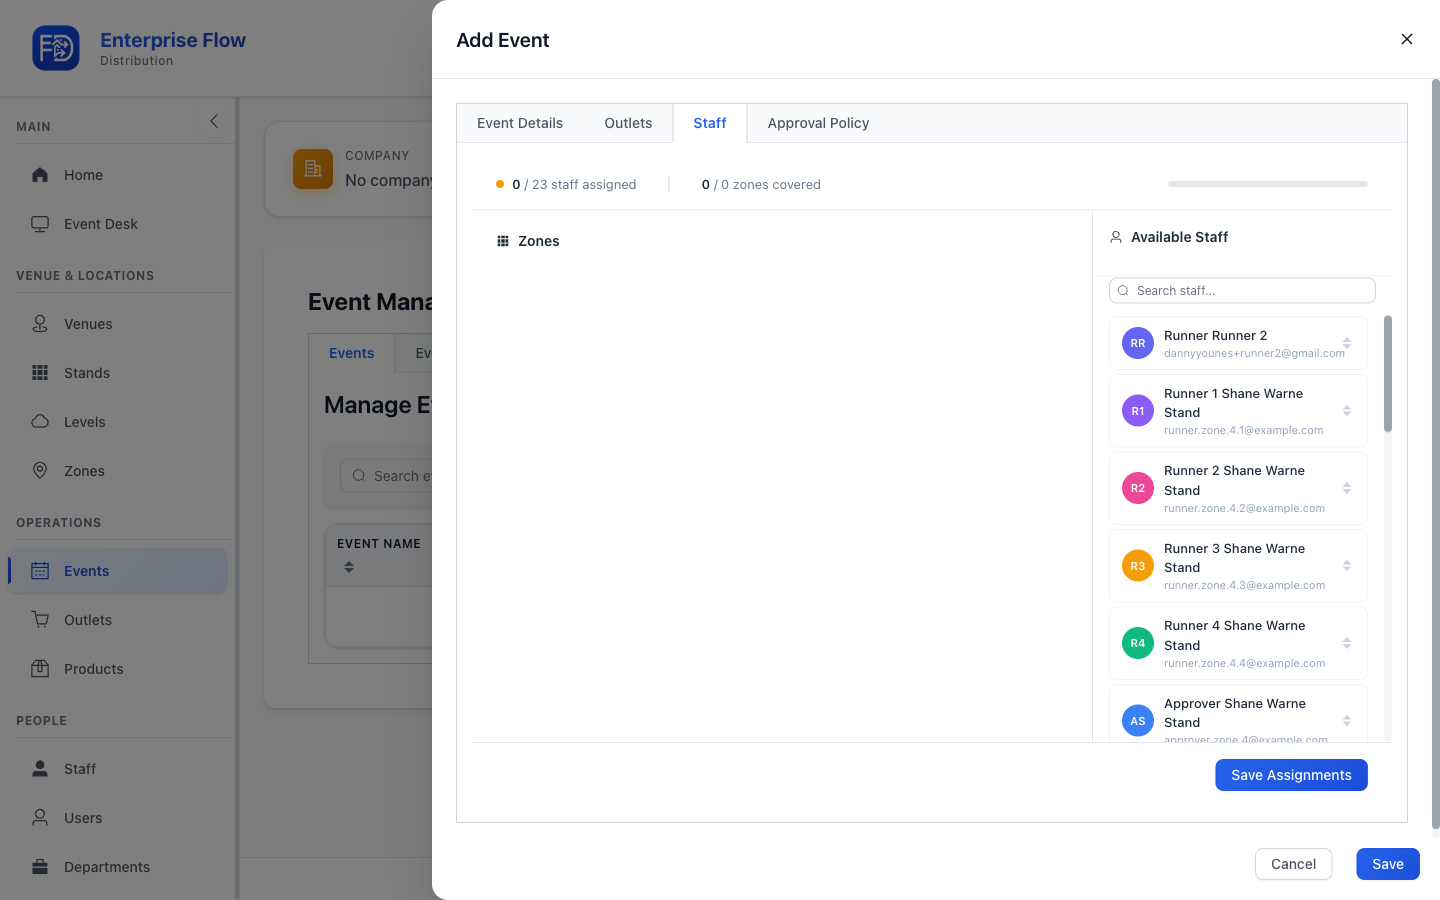
Staff Tab
Assign staff members to work this event, and assign each of them to the zones they'll cover. Zone assignments are saved together with the event when you create it.
Contractors Tab
Assign contractors to the event. Contractors are supplier staff who are active for a supplier operating at the event's venue — the tab lists the eligible contractors, and you select which ones work this event.

TIP
Contractor assignments can only be saved once the event itself exists, so they're persisted right after the event is created.
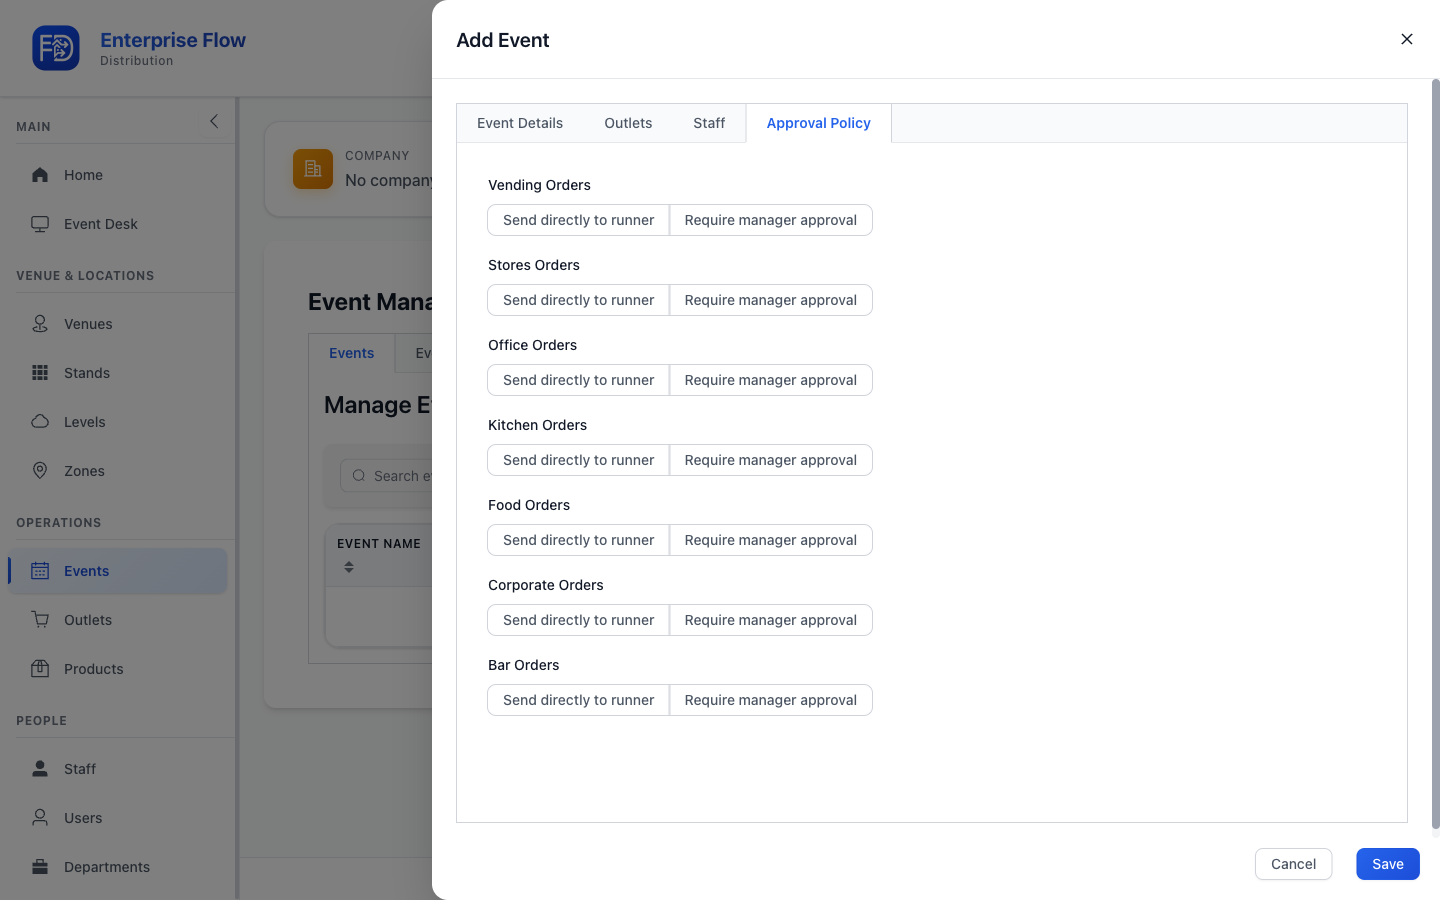
Approval Policy Tab
Configure order approval rules for this event.
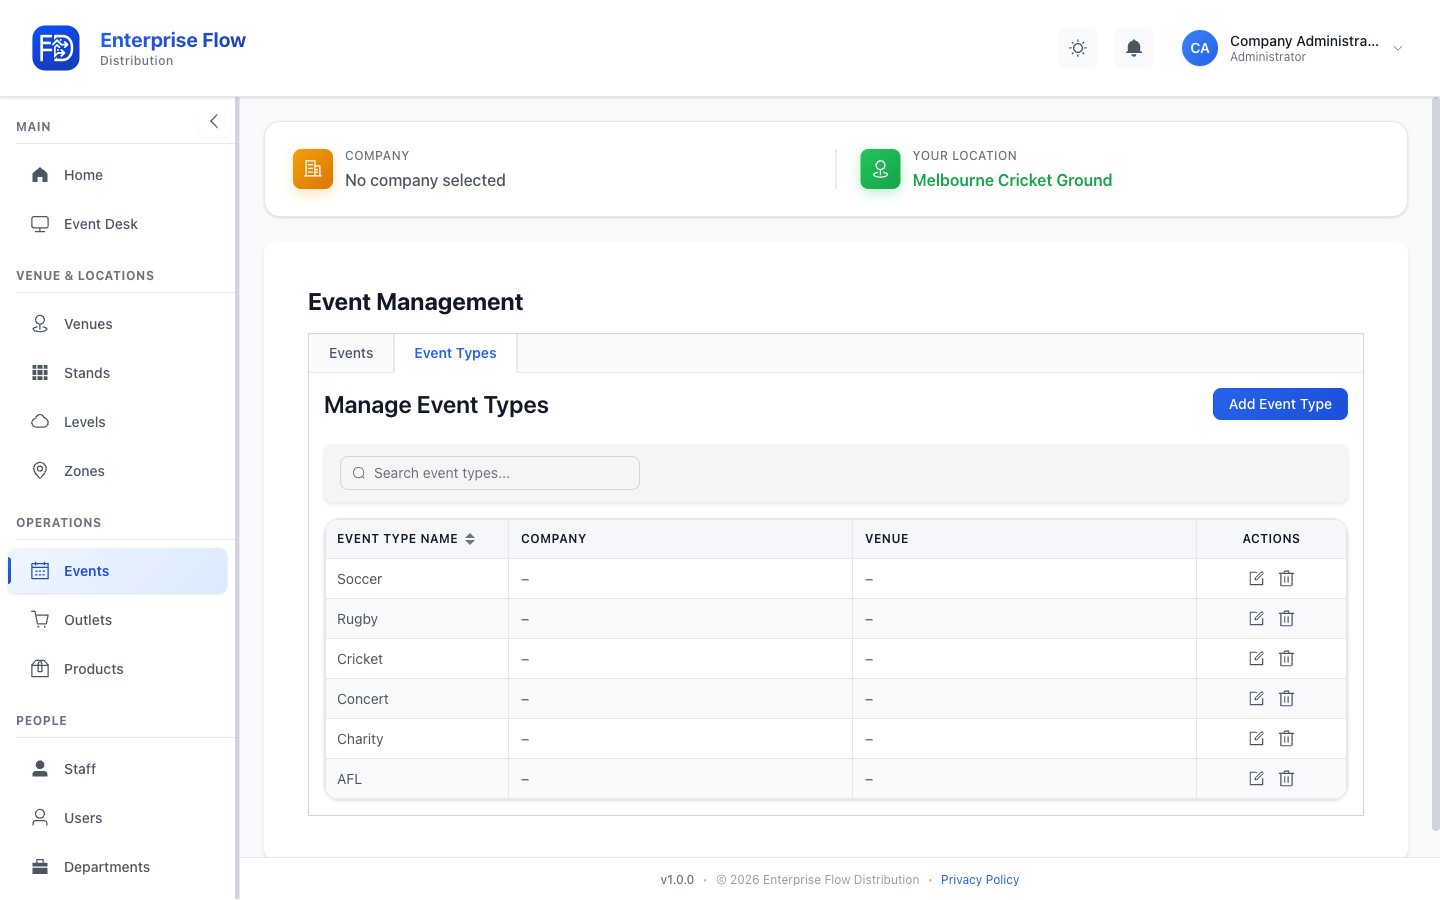
Event Types Tab
The events page also includes an Event Types tab for quick access to event type management.
Editing an Event
- Find the event in the list.
- Click Edit.
- Update the desired fields.
- Click Save.
Deleting an Event
- Click Delete on the event row.
- Confirm the deletion.
WARNING
Deleting an event removes all associated orders and operational data.
Tips
- Create the event before the day so staff can see it in the mobile app when they log in.
- Assign the correct venue so outlets are available for orders during the event.
- Use the Event Desk to manage operations during a live event.